
DIY Binaural Microphones
Experiments with naturalistic listening.
I use binaural microphones for recording ambiences in natural and urban spaces. All binaural apparatus seek to emulate the filtering created by our head and ears to help us localize sound in 3D space, but most commercial options are quite expensive. However, there are a variety of DIY options available.
The simplest way to create "binaural" recordings is to use, well, your own head! By using a pair of light omnidirectional capsules mounted inside or behind the ear, or clipped onto a pair of glasses, the acoustic mass of your head becomes a sort of baffle and widens the stereo image of your omni microphones. This approach is extremely cost-effective and easy to travel with (in fact I keep a pair of omni electrets in my daily carry kit for just this purpose), but I find the results lack some of the depth created with more purpose-built solutions.
Head-Mounted Binaural
“Alfred” 3D-Printed Binaural Head
Alfred is a 3D printed set of simple modeled ears based on this model by Elvis Deane at Hyberbolic Films. For eardrums, I fitted it with a stereo pair of Panasonic WM-61A omnidirectional electret capsules secured in the ear canal. For wind protection I used a pair of generic lavalier bumblebees rubber-banded to the outside of the ears, giving them an “old dwarf” sort of look that I find quite amusing. As the WM-61As run on plug-in power they are wired to a stereo 3.5mm plug, which restricts their use to field recorders with a dedicated 3.5mm line input (although XLR phantom power to 3.5mm PIP adaptors do exist as well).
My hopes were not particularly high for this experiment, as PLA plastic (especially printed at only about 30% infill) shares few acoustic properties with those of human cartilage and this model only simulates the shape of the ears, not the acoustic mass of a head in between them. However, I was shocked by the quality of the recordings this very “DIY-looking” little array could produce, and I still occasionally use this microphone array several years later to record sources with a lot of stereo movement. However, the noise floor of the WM-61As makes them unsuitable for low-level ambience recordings, leading me to look for another solution.
DIY SASS Array
In an attempt to find a better low-noise solution for ambience field recordings I stumbled upon the Primo EM172/272 omnidirectional electret capsules. These little guys have a long-standing reputation in the DIY microphone community for their extremely low noise floor (~14 dBa) and high sensitivity (-26 dB), and are the basis of several commercially available microphones like the LOM Ušis and Micbooster Clippys.
In addition to the capsules themselves, I wanted to find a more robust array solution than my 3D-printed ears; something that could travel well to remote locations and still render a natural-sounding stereo image. After some research I found a number of DIY versions of the Crown SASS array with convincing example recordings, and set out to construct my own based on Rob Danielson and Vicky Powys’ designs.
This construction neatly mimics several features that more expensive binaural heads seek to as well: the closed-cell foam at the center mimics the acoustic absorption of the head while the open-cell foam at the front mimics the filtering of the nose, while the angle of the cheeks (110*, the same as ORTF) and hard boundary layer of the capsule mounting help to achieve a very naturalistic frequency response and stereo image. Unlike Rob and Vicky’s designs, I elected to go with 3D-printed cheeks for the boundary layers, as they allowed me to dial in the fit of the capsule housings and clean up the mess I made of the closed-cell foam block. The capsules are not permanently fixed to the SASS array, which allows me to still use them in a head-mounted configuration or as AB outriggers on concert recording rigs. A 1/4-20 nut in the bottom bracket for mounting to a standard tripod plate completed the design, though I may look for a slightly more robust option in the future.
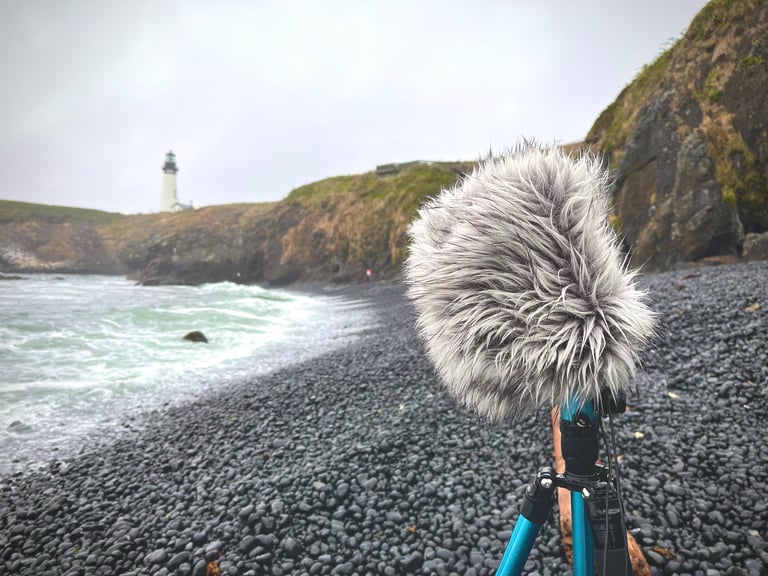
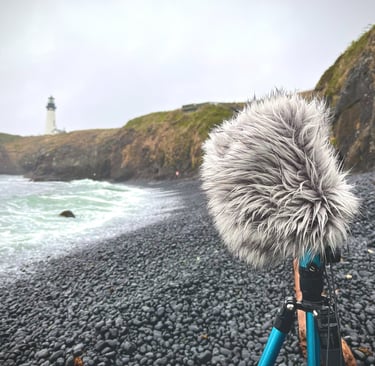
For wind protection, it seems that many builders use a simple beanie stretched over the construction to good effect, but as I did not have one on hand of appropriate size and weave I decided to try sewing my own with some long-pile fake fur from the fabric store. This turned out to be remarkably easy (even on my old sewing machine) and the addition of an elastic drawstring allowed for a much tighter seal than the beanie would have provided. I have since used this array in extremely windy conditions (the beaches of the Pacific Northwest in the stormy season proved to be an excellent test of both wind and moisture resistance), and this DIY cover passed with flying colors, enough to convince me to make my own wind protection from now on.
I could not be happier with this array at present. The recordings I’ve made with it have very little noise with lots of detail, and the whole system is very light and robust for long hikes or plane travel. Good stuff!
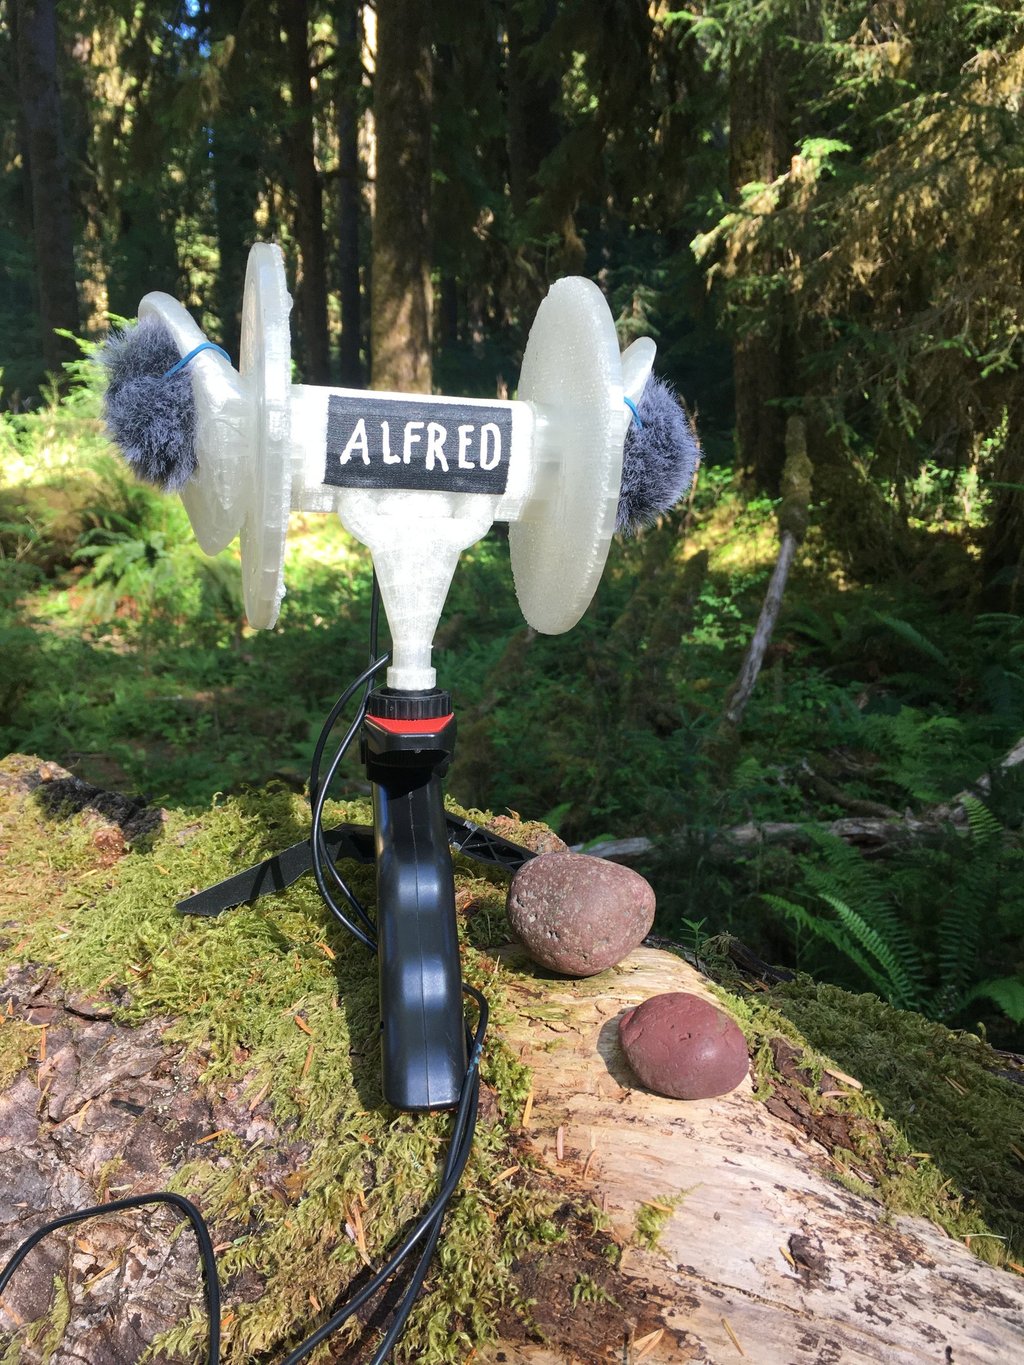
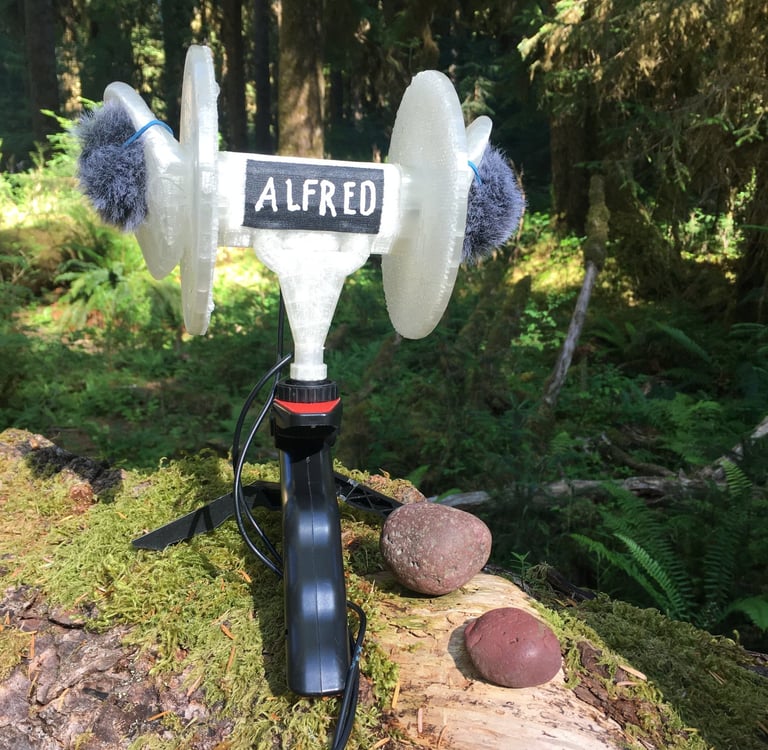
Alfred at the One Square Inch of Silence in the Hoh Rainforest.
maxkriencomposer@gmail.com
Max Krien © 2024. All rights reserved.


Special thanks to Kelly Feldman